Texture Generation and Image Quilting
By Ajay Bhargava
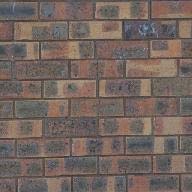
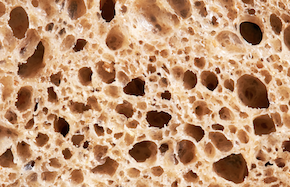
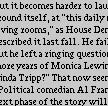
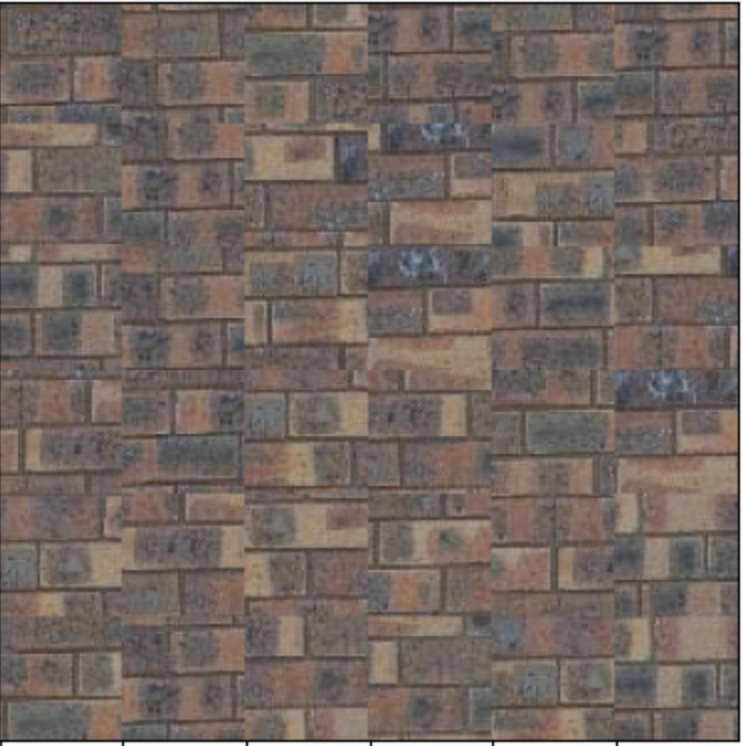
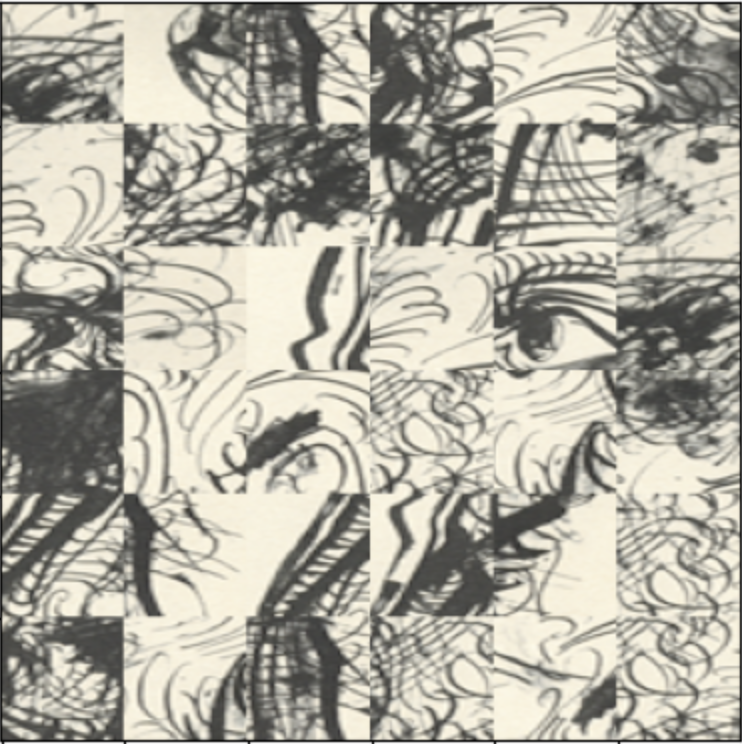
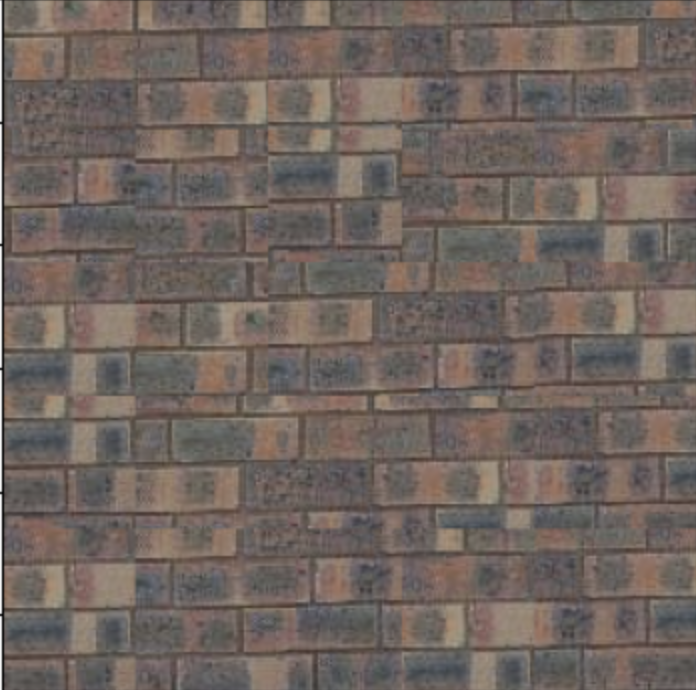
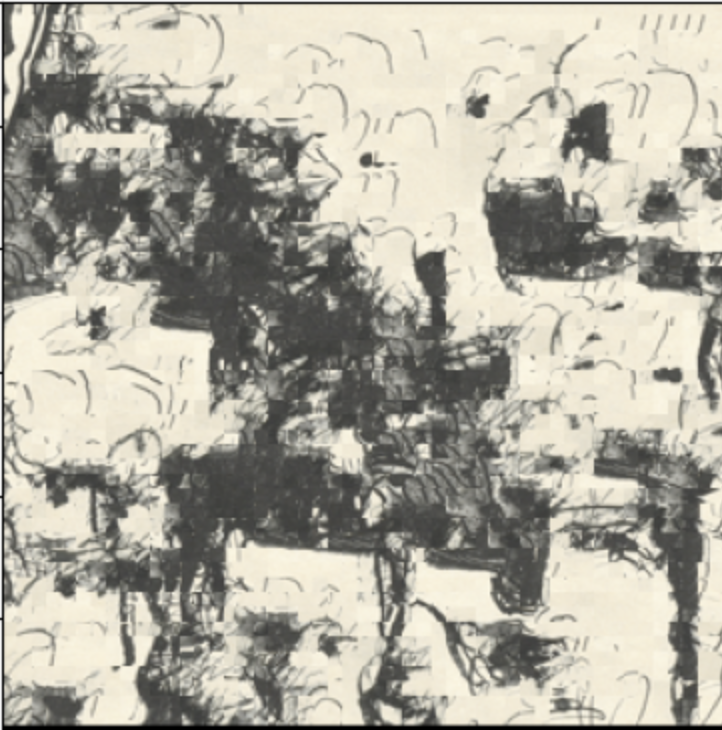
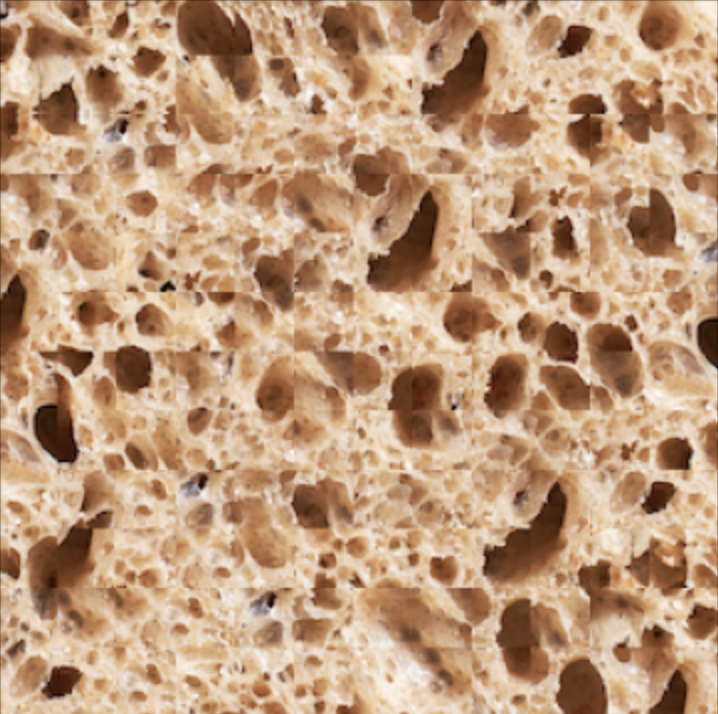
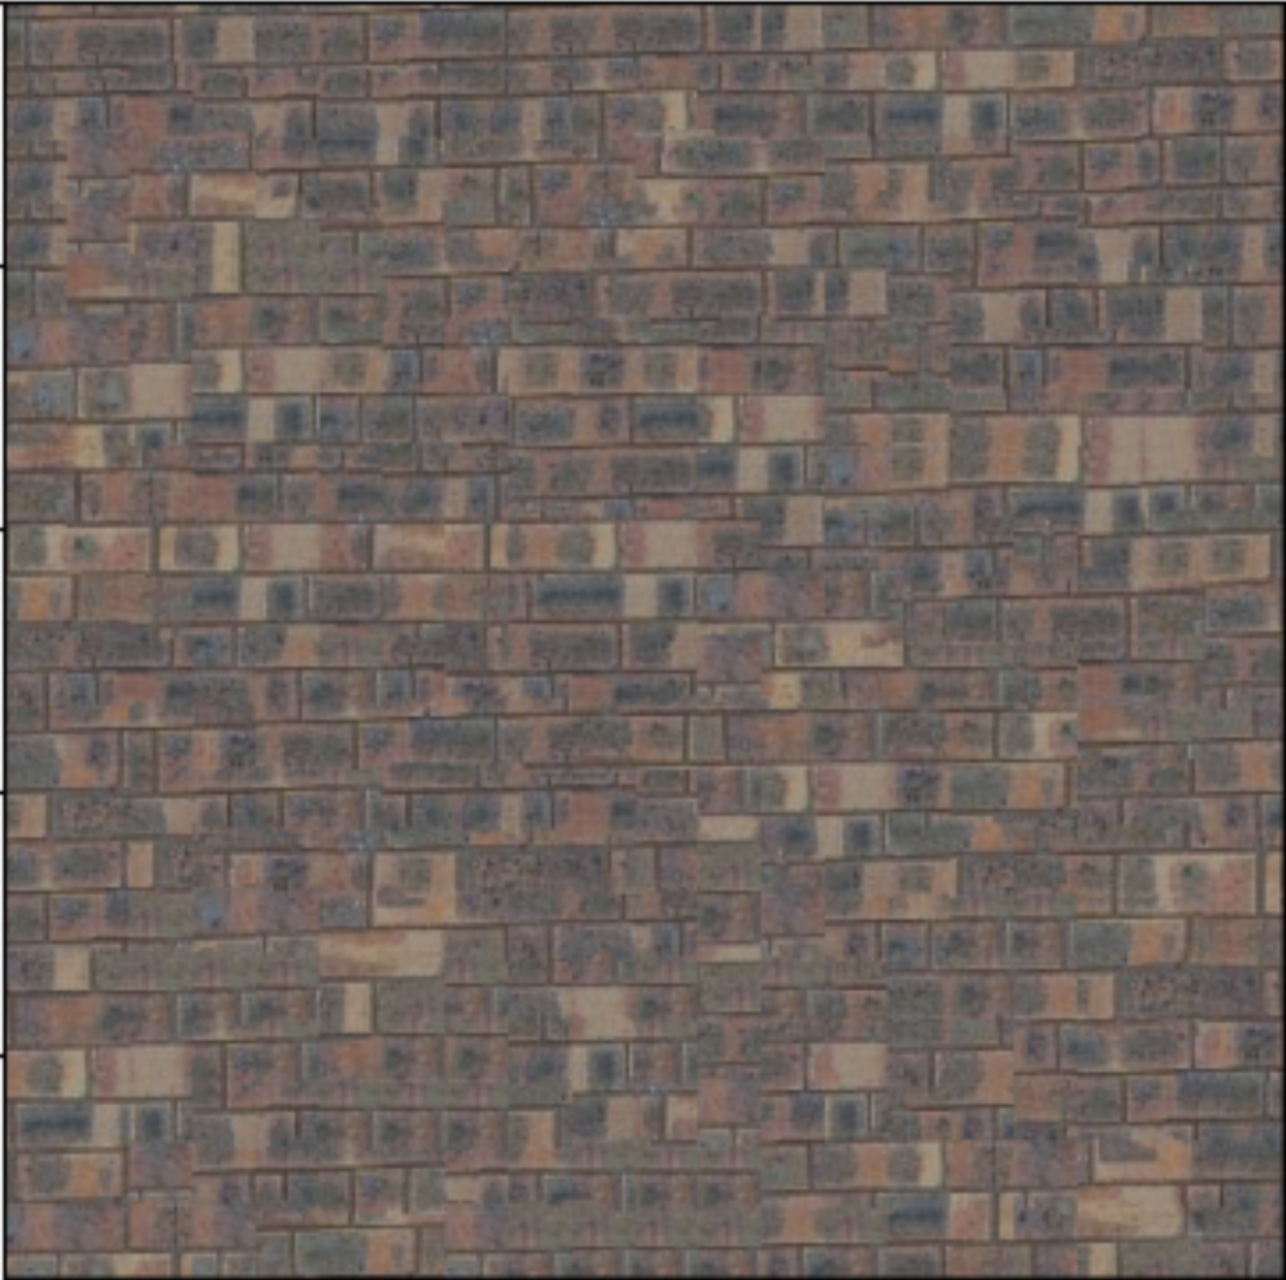
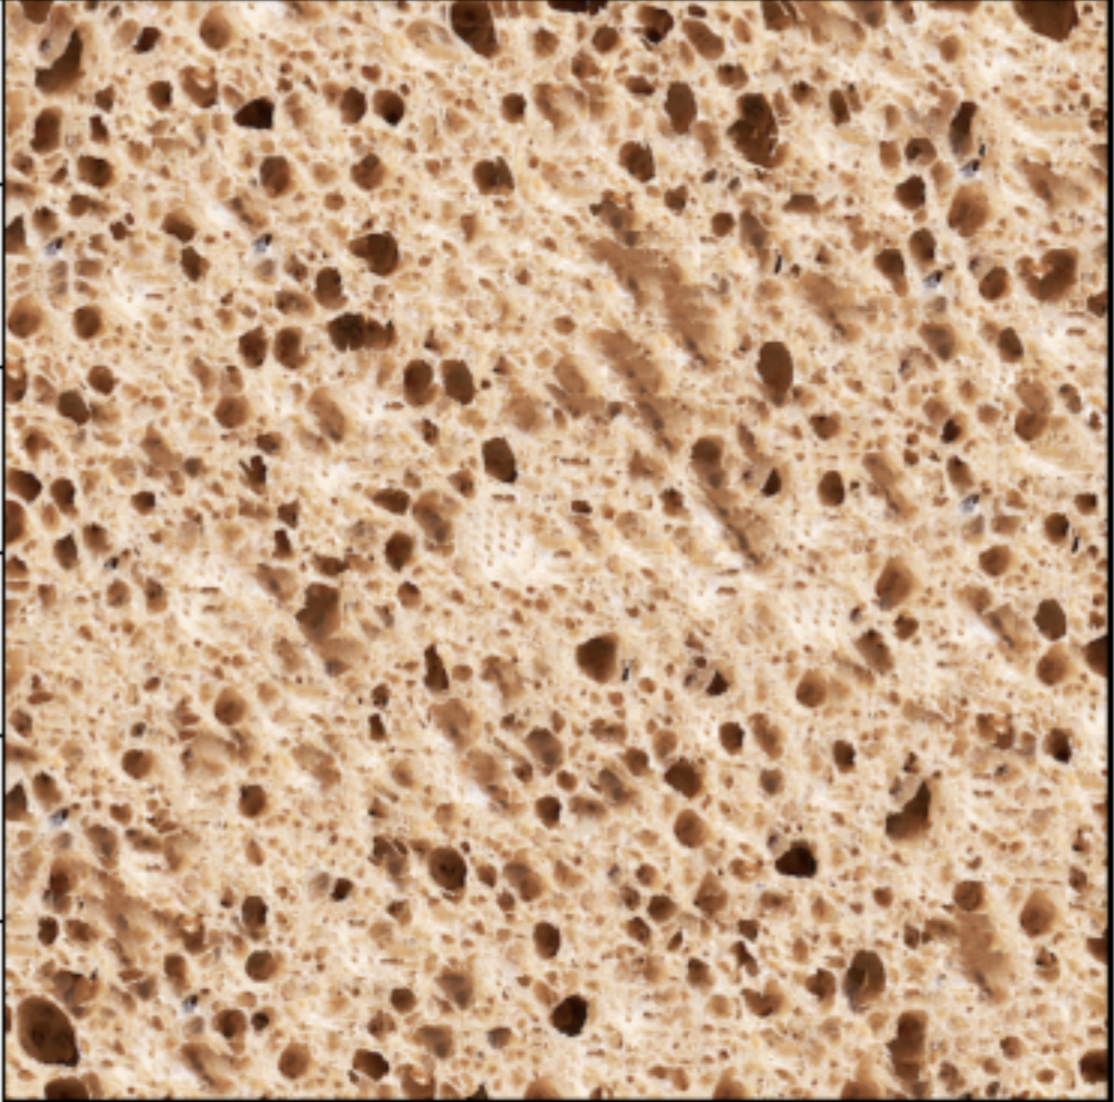
Randomly Sampled Texture
The idea behind this project is to take a small sample of a texture and create a larger and expanded version of the same texture. In its most basic form, this can be done by randomly sampling patches of the original texture onto a new output image. Some example textures and their randomly quilted outputs are shown below.
Overlapping Patches
The random method demonstrated above does a poor job - as the seams between the patches are obvious. We can improve upon this by using overlapping patches and choosing the best match to place as the next patch. I started by placing a randomly selected patch at the top left, then iterated through the output image and chose the patch with the best match. This best match metric was determined using ssd, finding the patch in the sample image that when placed onto the output image in an overlapping manner, is most similar. The intention is to make the patches blend into each other nicely. Results from this are shown below.
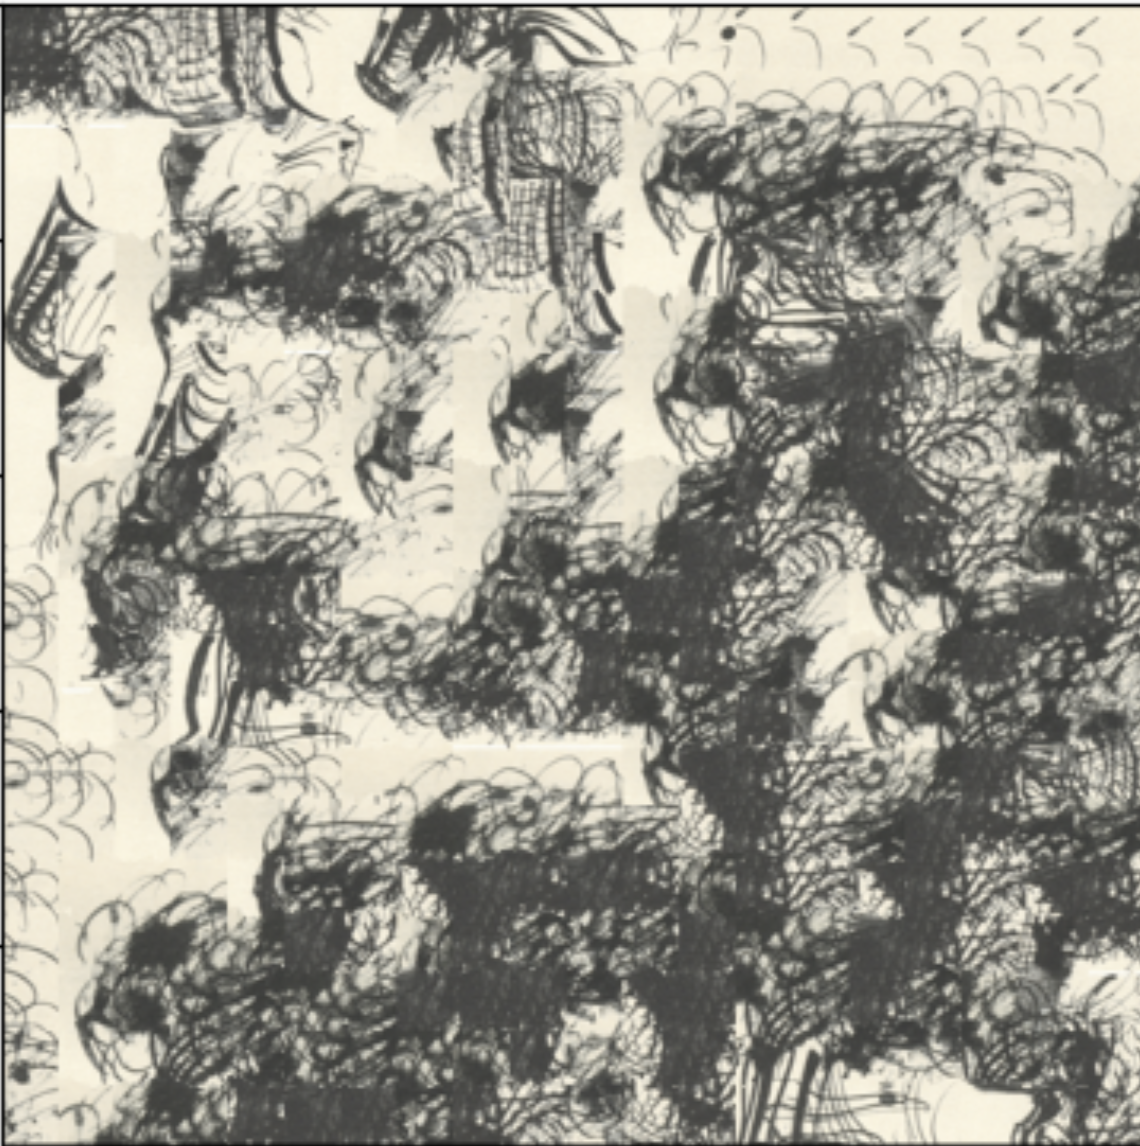
Seam Finding
The overlapping patches method as demonstrated above does a significantly better job than simply the randomized texture. However, there are still some visible artifacts that exist in the final image. The next step would be to better blend the overlapping patches when combining. The same method to choose the new patch from above is used, but instead of simply placing the new patch on top of the old one, I found the most efficient seam (either horizontally or vertically). The error cost for each pixel was calculated (how different the new patch is to the existing patch) - and then the shortest path from one edge to another edge was calculated to use as the seam. This was accomplished using Dijkstra's Algorithm to find single source shortest paths.
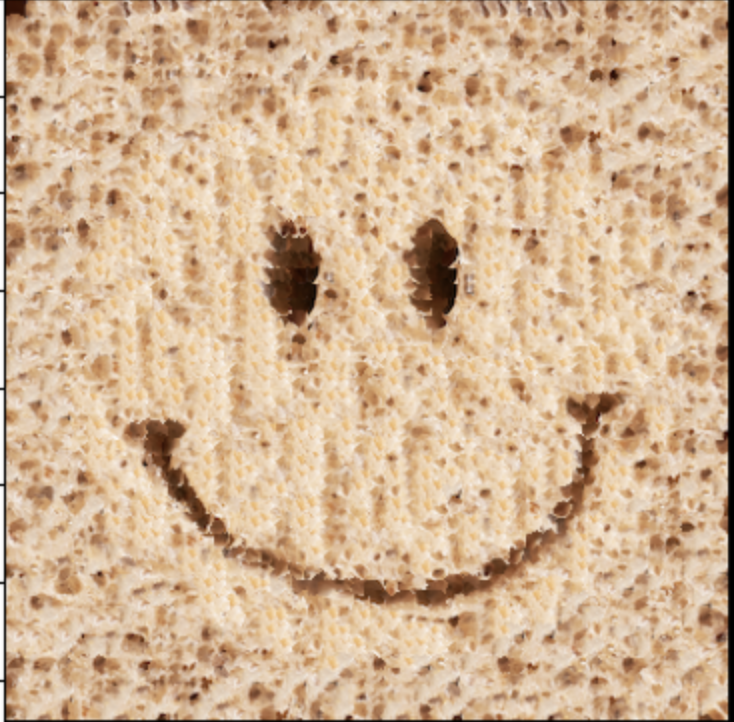
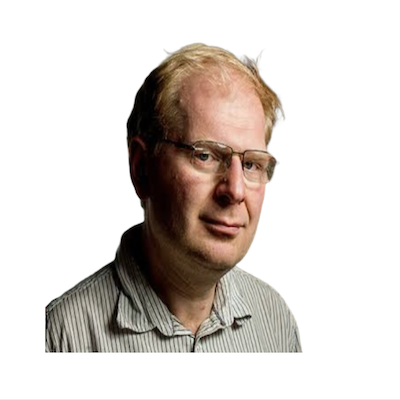
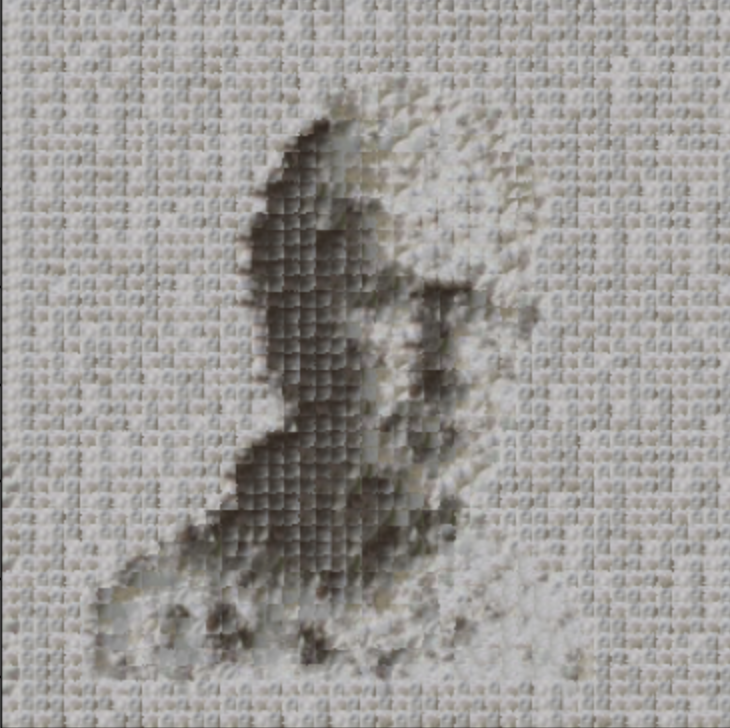
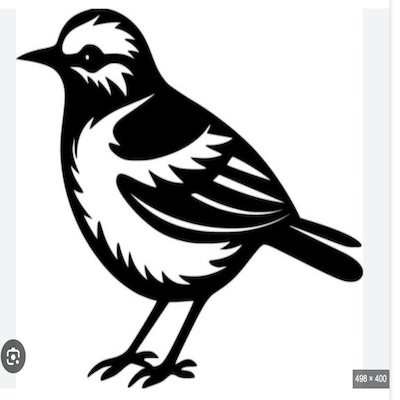
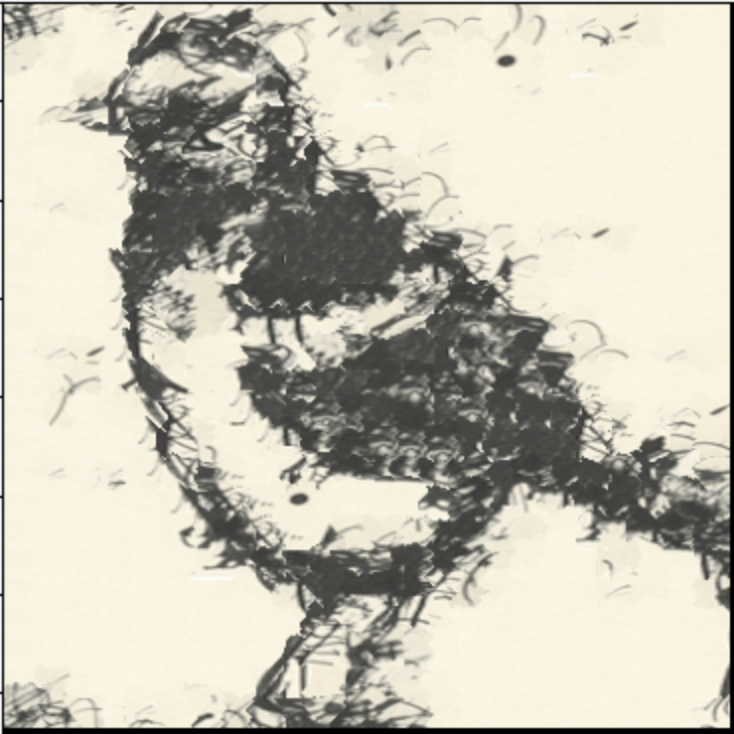
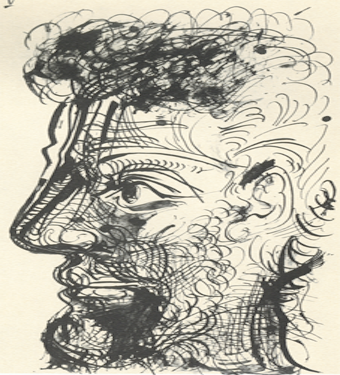
Texture Transfer
The above seam minimizing technique can be utilized to produce some unique results – one of which is texture transfer. By altering the ssd function to not only account for this difference between our chosen patch and the output image, but to also account for the difference between the patch and some target image, we can generate a 'texture transfer' of one textre onto a target image. Some examples of this are shown below.